
iStorage Server Online Help

| About Storage Pool | KernSafe iSCSI SAN User Manual |
|
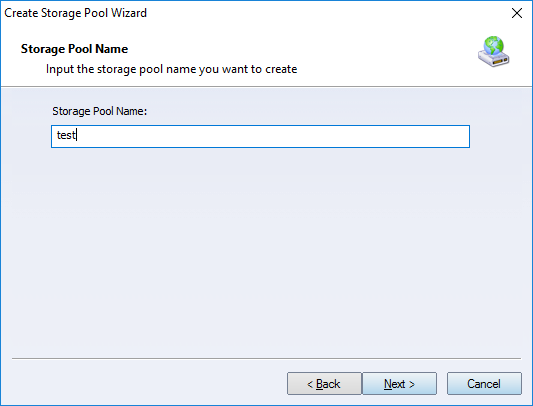
Storage Pool 100% SDS which can manage all disks and make them as pooled with the ability to create arbitrary, dynamic block volumes that can be utilized by any clients. These volumes are allowed to create unlimited and zero-copy snapshots. Storage Pool provides ways for building data in redundancy and scale-up, performance scaled by adding more devices. User can use All-Flash or Hybrid (SSD + HDD) disk arrays. Creating Storage Pool Follow the steps below to create a Storage Pool: Step 1. Right click Storage Pools on the left tree menu in KernSafe iSCSI SAN Management Console and press New Storage Pool.... The Create Storage Pool Wizard shows.
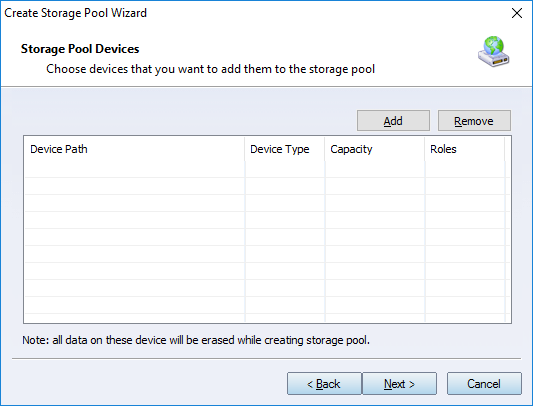
Type Storage Pool Name then press the Next button to continue. Step 2. Add devices to the storage pool.
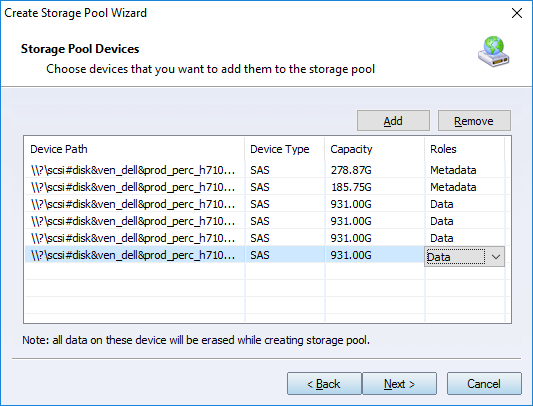
Press Add to select devices.
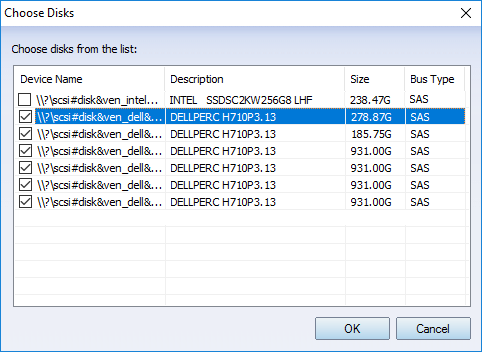
Check the devices you want to use and press OK to add them. Note: Please ensure there is no important data in these disks, while creating storage pool, all disks which being added to the storage pool will be erased.
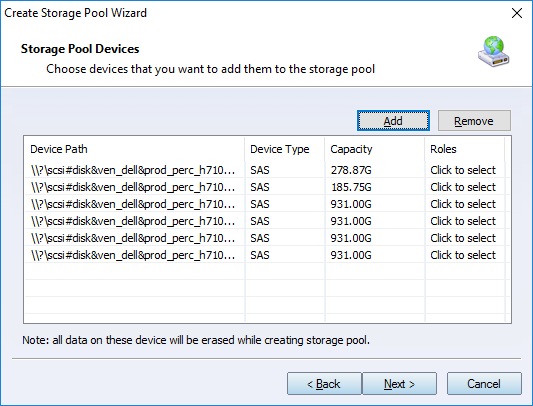
Click on the Click to selectcombo box, select disk role for each disks.
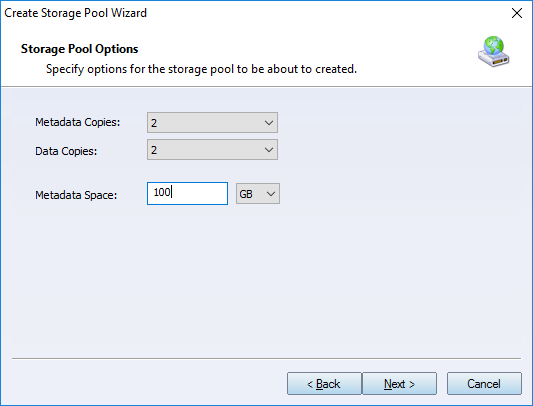
Note: Metadata should be placed in SSD or NVMe disk, while data disk can use normal SATA HDD or SSD, at least one metadata disk is needed to create storage pool. In other words, the minimum requirement to create storage pool is one disk to work as both metadata and data disk. Press Next to continue. Step3. Setup the storage pool. Configure the type, Stripe Size, Initialize Type.
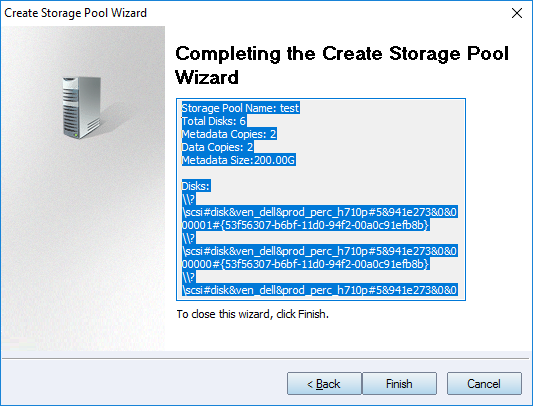
Note: Metadata disk will be used for saving management data, including data structures and snapshots, it is important, user can set its size, the left space in the metadata disk will be used as data. Note: Metadata copies and data copies are very important to ensure data safe in the storage pool, in case of hardware problem, if you have your own RAID configured, you may use 1 copy fo them. Press Next to continue. Step 4. Finish to create storage pool.
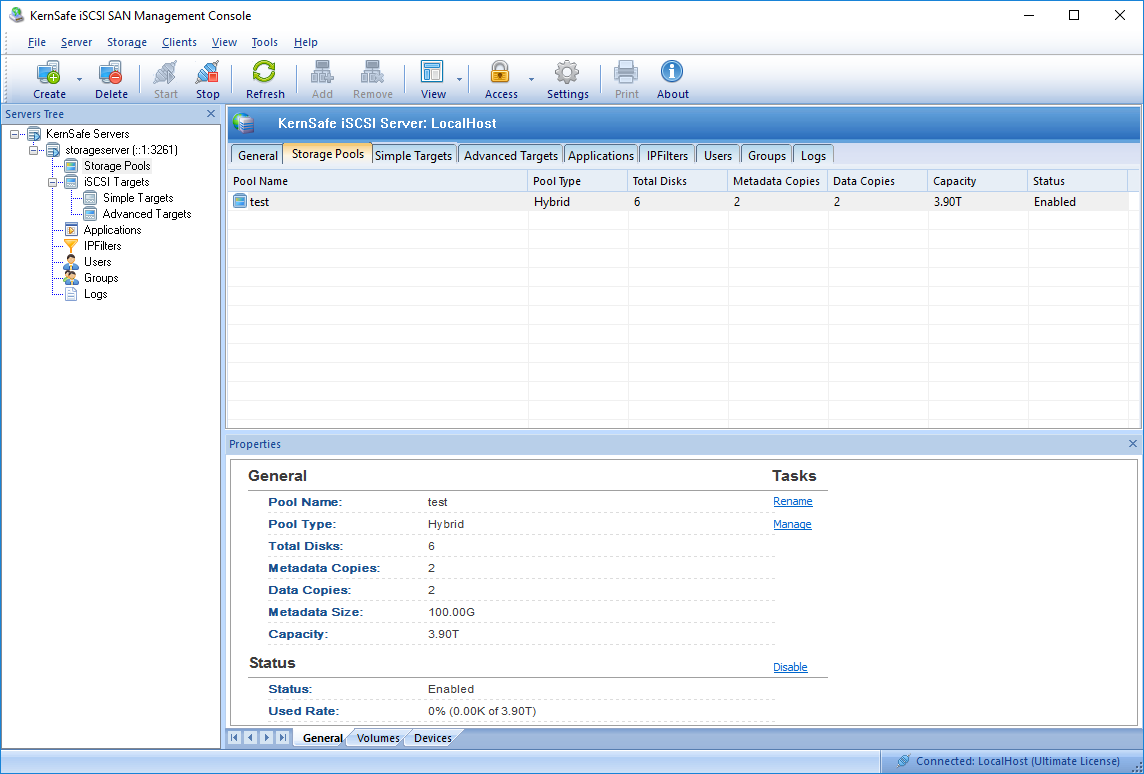
Review the detailed information in the text box, user can press Back to modify it. After create storage pool successfully, the storage pool will be shown in the management console as follows:
| |
SUPPORT
- Forum
- Support Ticket
- [email protected]

- Voice Mail:
- +1 (518) 289-4888